

You walk out to the garage, catch the light across your hood, and there it is. A bubble under your new paint protection film. That sinking feeling is normal. Most owners assume the install went wrong, or worse, that the film is already failing.
Usually, the first step isn't fixing anything. It's identifying what you're looking at. Some paint protection film bubbles are part of the curing process. Others are signs that the film needs professional attention. Knowing the difference matters, because the wrong DIY move can turn a small cosmetic issue into stretched film, lifted edges, or a voided warranty.
From an installer's perspective, the biggest mistake car owners make is acting too quickly. Pressing, poking, or heating the wrong bubble for the wrong reason causes more damage than the original defect. A careful approach protects both the finish and the value of the vehicle.
Why Are There Bubbles in My New PPF
Fresh PPF rarely looks exactly the way it will look once it has settled. Right after installation, the film is still bonding, the adhesive is still setting, and any remaining slip solution is still working its way out. That's why a bubble on day one doesn't automatically mean there's a problem.
The key is to separate normal curing behaviour from a true installation defect.
Two bubble types that owners confuse
Most new-film concerns fall into two categories:
- Moisture bubbles are usually small, slightly cloudy, and sometimes grouped together. These happen because a bit of installation solution remains under the film while it cures.
- Air bubbles tend to look clearer and more defined. They often have a sharper outline and don't have that milky appearance.
Here's the visual difference at a glance.
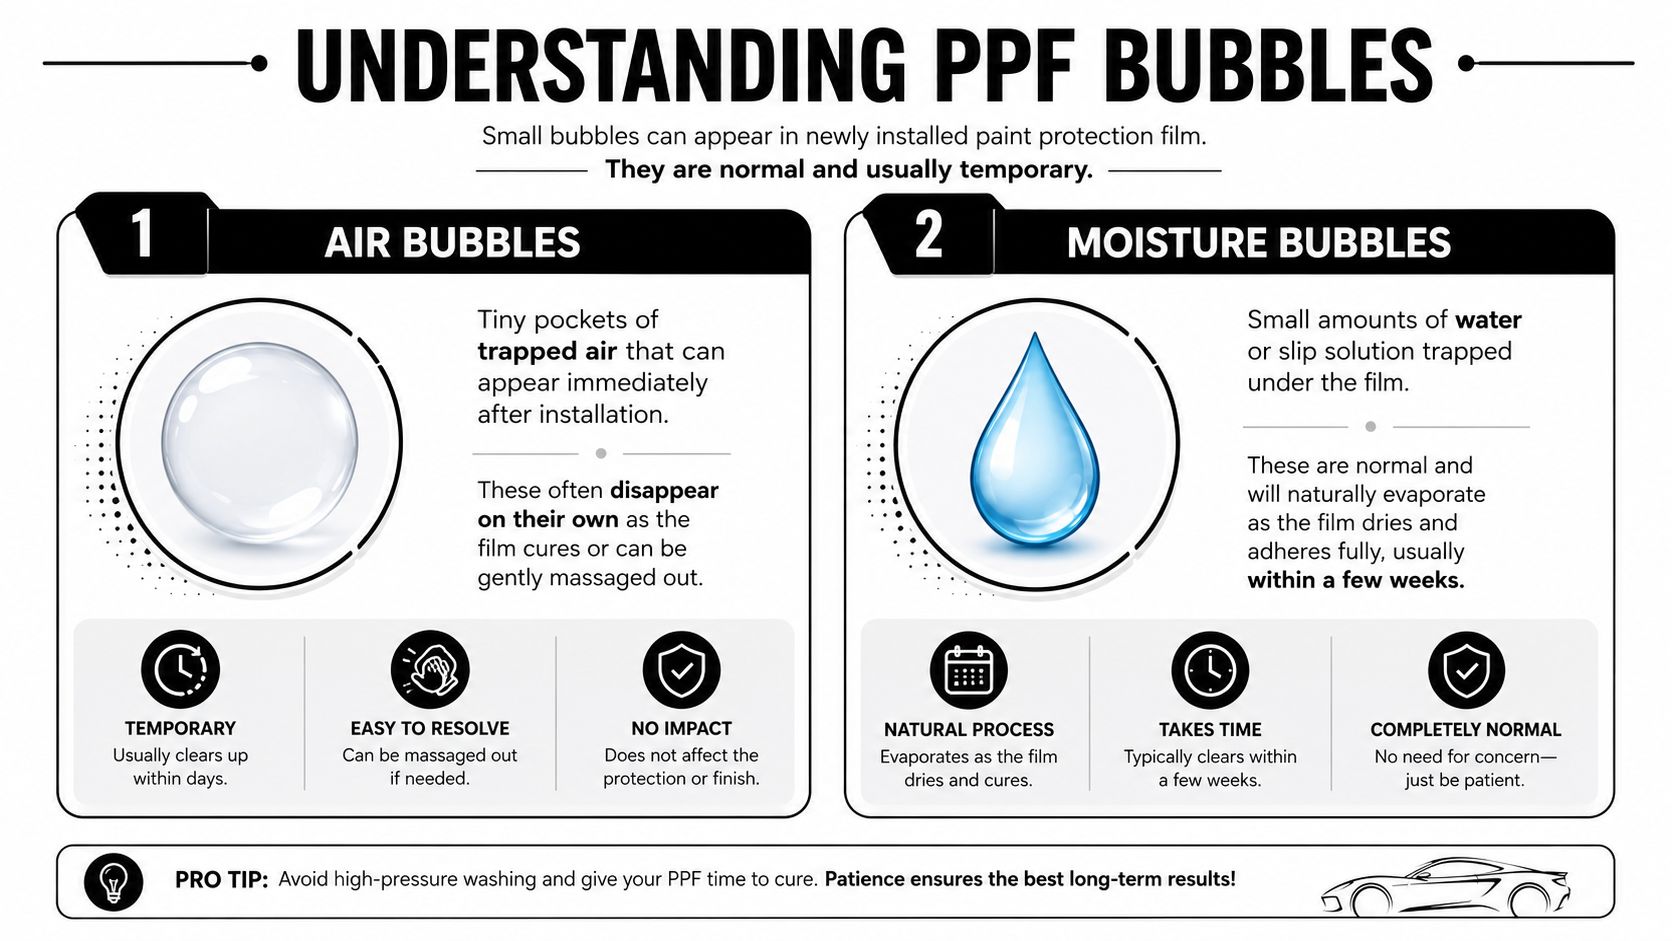
If your film was just installed, the safest move is often patience. Many small cloudy spots fade as the film dries, settles, and fully adheres. That's a normal part of a proper application, especially on larger panels and complex curves.
Why moisture gets trapped in the first place
PPF isn't installed dry. The film has to be positioned accurately before it locks onto the paint, so installers use a slip solution to float and place it. During squeegee work, most of that solution is removed, but not always every trace of it on the first pass. Some residue can remain in tiny pockets.
That's one reason professional paint protection film installation involves both technique and curing time. What looks imperfect on the first day can look completely different once the film has settled.
Practical rule: If the bubble looks cloudy and the install is fresh, don't attack it right away.
When concern is justified
A bubble deserves closer attention when it looks sharply defined, stays unchanged, or has a visible speck at the centre. That points away from curing and toward trapped air or debris.
Another warning sign is a bubble that forms with edge lift, wrinkles, or tension lines nearby. At that point, the issue isn't just cosmetic. It can affect how the film sits, seals, and lasts on the panel.
Identifying the Bubble Type Water Air or Debris
Before you touch the film, inspect the bubble in good light. Use sunlight if possible, or a proper detailing light. Look at it from more than one angle, and don't rely on a quick glance in a dim garage. The appearance tells you a lot.
Three bubble types matter most in practice: water, air, and debris. Each behaves differently, and each calls for a different response.
What water bubbles look like
Water bubbles often look soft rather than crisp. The area can appear milky, hazy, or slightly silvered. They may show up as a cluster instead of one isolated pocket, and they often become less noticeable as the film cures.
If the install is recent, these are usually the least concerning.
How air bubbles stand apart
Air bubbles are clearer. The edges are more obvious, and the bubble usually looks more rounded and defined than a moisture pocket. When you view it from the side, it can look like a tiny dome under the film.
Some small air bubbles can be worked out safely. Others can't, especially if they're sitting near a tucked edge or on a highly contoured panel.
If a bubble stays crisp and unchanged while the rest of the film settles, treat it like trapped air until proven otherwise.
Debris bubbles are the real red flag
A debris bubble usually has a tiny particle at its centre. Dust, lint, or contamination creates a raised point under the film, and the bubble forms around it. This isn't something patience fixes. The film is being held up physically by that particle.
That's why debris bubbles matter more than their size suggests. A tiny speck in the middle of a hood can be more serious than a larger moisture patch elsewhere.
Here's a simple diagnostic table you can use.
PPF Bubble Identification Guide
| Bubble Type | Appearance | Cause | Recommended Action |
|---|---|---|---|
| Water | Cloudy, milky, hazy, sometimes in clusters | Residual slip solution or moisture during curing | Leave it alone at first and monitor it |
| Air | Clear, rounded, defined edges, dome-like look | Trapped air from application | Minor cases may respond to safe warming and gentle pressure |
| Debris | Visible speck or dark point in the centre | Dust, lint, or contamination under film | Professional assessment, often partial redo or replacement |
A second clue is timing. A fresh install with a soft cloudy patch points one way. A bubble that appears later, or one that remains while everything else looks settled, points another way. Long-term film performance depends heavily on installation quality, which is why it helps to understand how long PPF lasts on a properly protected vehicle.
Quick self-check before you act
Use this checklist before trying anything:
- Check the centre: If you can see a speck, stop. That's likely contamination.
- Check the outline: A crisp edge usually means air. A cloudy patch often means moisture.
- Check the location: Bubbles on edges and tight curves are riskier to disturb.
- Check the age of the install: Fresh film gets more patience than film that has already settled.
Safe DIY Methods for Minor PPF Bubbles
Not every bubble needs a shop visit. Some small air bubbles can be improved at home if you use the right method and stay within your limits. The goal isn't to force the film down. The goal is to help the film relax so trapped air can move toward an exit path.
That means controlled warmth, gentle pressure, and patience.
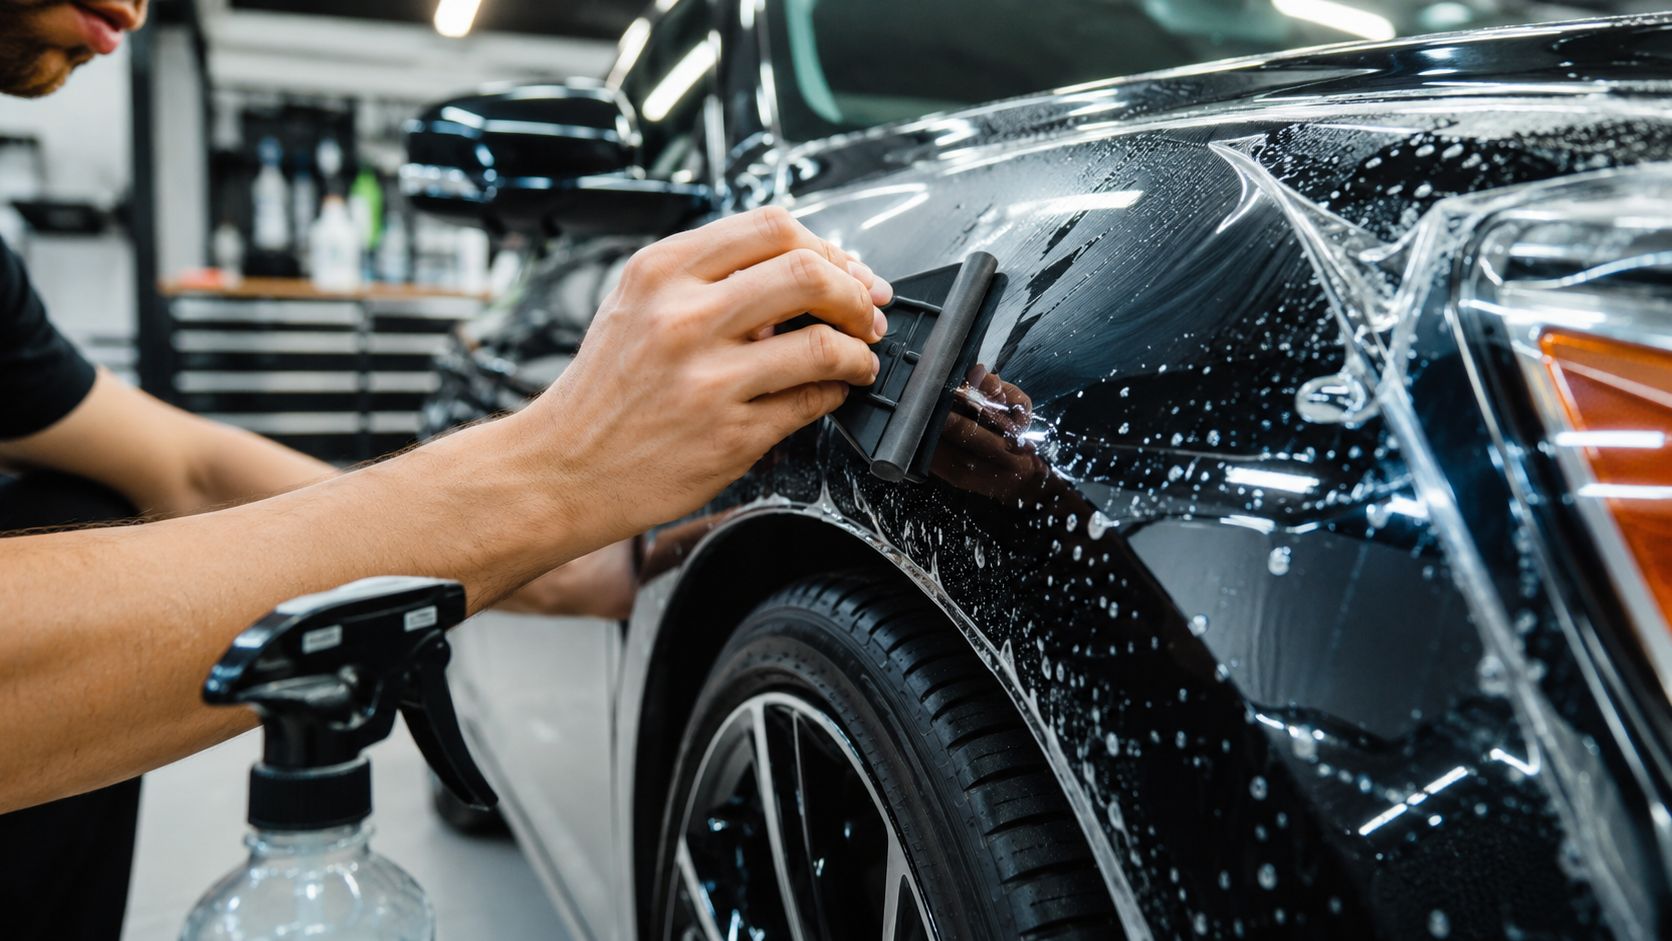
What you can safely use
You don't need a shop full of tools for minor correction. You do need restraint.
- A hairdryer on low heat: Not a heat gun. Hairdryers are far less likely to overheat the film.
- A soft-edged squeegee: PPF-safe if you already have one.
- A bank card wrapped in a plush microfibre towel: A workable substitute if the towel is clean and soft.
- Clean hands and a clean panel: Dirt on your fingers or towel can mark the surface.
For ongoing care after the film has cured, many owners also ask about layering protection. If you're considering that step, ceramic coating over PPF can make cleaning easier when it's done properly.
The safe method
Use this process only on a small, clear air bubble that isn't on an edge and doesn't contain debris.
Warm the panel gently
Let the vehicle sit in the sun, or warm the area with a hairdryer on its lowest setting. Keep the dryer moving. Don't hold it close, and don't concentrate heat in one spot.Test the film with your hand
The film should feel slightly warm and more pliable, not hot. If it feels hot, stop and let it cool.Work from the bubble outward
Using your wrapped card or soft squeegee, apply light pressure and guide the bubble toward the nearest safe exit path. Usually that's an edge, but only if the edge is stable and not close enough to risk lifting.Use short, controlled passes
Don't mash the film. Don't scrape. You're encouraging movement, not flattening the film by force.Recheck in different light
Some improvement is enough. If the bubble resists, stop before you distort the film.
Gentle heat helps because it makes the film more compliant. Too much heat does the opposite of what you want. It softens the adhesive excessively and can distort the film.
What doesn't work and often causes damage
The internet loves the pin trick. Installers hate it for good reason.
- Never use a needle or pin: It punctures the film, disrupts the top layer, and creates a permanent entry point for moisture and contamination.
- Don't use a heat gun unless you install PPF regularly: It's easy to overcook a panel edge or stretch a soft section.
- Don't press with your thumb nail: That leaves pressure marks and can crease the film.
- Don't chase a bubble across a complex curve: Film under tension can leave lift lines or memory marks.
A tiny bubble is cheaper than a damaged panel section. If your first careful attempt doesn't solve it, that's usually the point where DIY should end.
The Hallmarks of a Quality PPF Installation
The cleanest fix for paint protection film bubbles is preventing them in the first place. Most long-term bubble issues don't begin with the film. They begin with preparation, environment, or handling.
That's why two cars with the same film can age very differently.
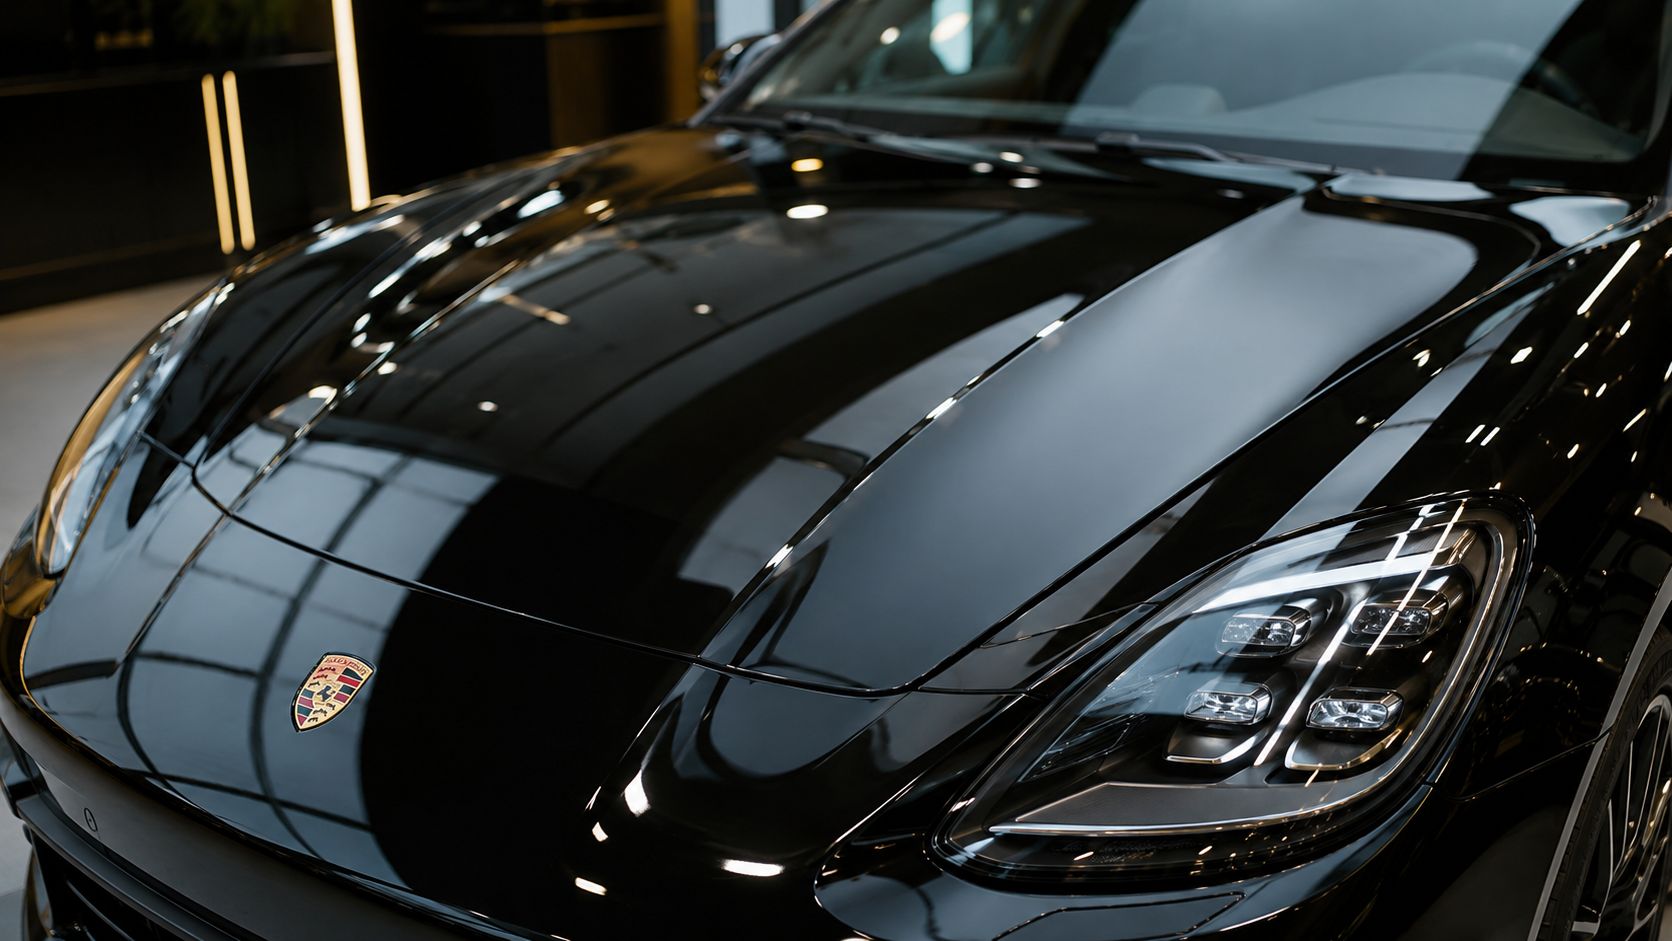
Surface prep decides the outcome
A panel can look clean and still be nowhere near ready for film. Proper prep means stripping away what your eye doesn't always catch: bonded contamination, fallout, leftover waxes, polishing oils, and dust that hides in panel gaps.
A quality installer usually follows a prep chain that includes:
- A proper wash: To remove loose grime before anything touches the paint.
- Chemical decontamination: Iron remover helps clear embedded fallout.
- Mechanical decontamination: Clay treatment removes bonded contamination that would otherwise sit under the film.
- Final wipe-down: A clean surface gives the adhesive a fair chance to bond evenly.
If any of that is rushed, the film may still go on, but the finish won't look as clean or stay as stable.
The environment matters more than most owners realise
Shops that install PPF well control dust, lighting, and workflow. Airborne lint lands fast. Poor lighting hides contamination and moisture pockets. A rushed bay with open doors and traffic around the vehicle invites defects.
Installer insight: A perfect pattern can still produce a poor result if the environment is dirty or the panel prep is careless.
Technique matters just as much. Good installers know how much stretch a film can tolerate, where tension needs to be relieved, and how to squeegee moisture out without trapping new pockets.
What to look for in an installer
If you're shopping for PPF, ask direct questions:
- How is the paint decontaminated before install?
- Is the work done in a controlled indoor space?
- How are edges handled on difficult panels?
- What happens if a contaminant appears during application?
A shop that takes installation seriously won't dodge those questions. They'll explain the process clearly, because bubble prevention starts long before the film touches the paint. If you want to understand the level of finish a specialist aims for, review what goes into a dedicated paint protection film installation service.
When to Put Down the Squeegee and Call a Professional
The smartest car owners aren't the ones who try to fix everything themselves. They're the ones who know when a bubble has crossed the line from harmless annoyance to risky repair.
Some situations are not worth experimenting on.
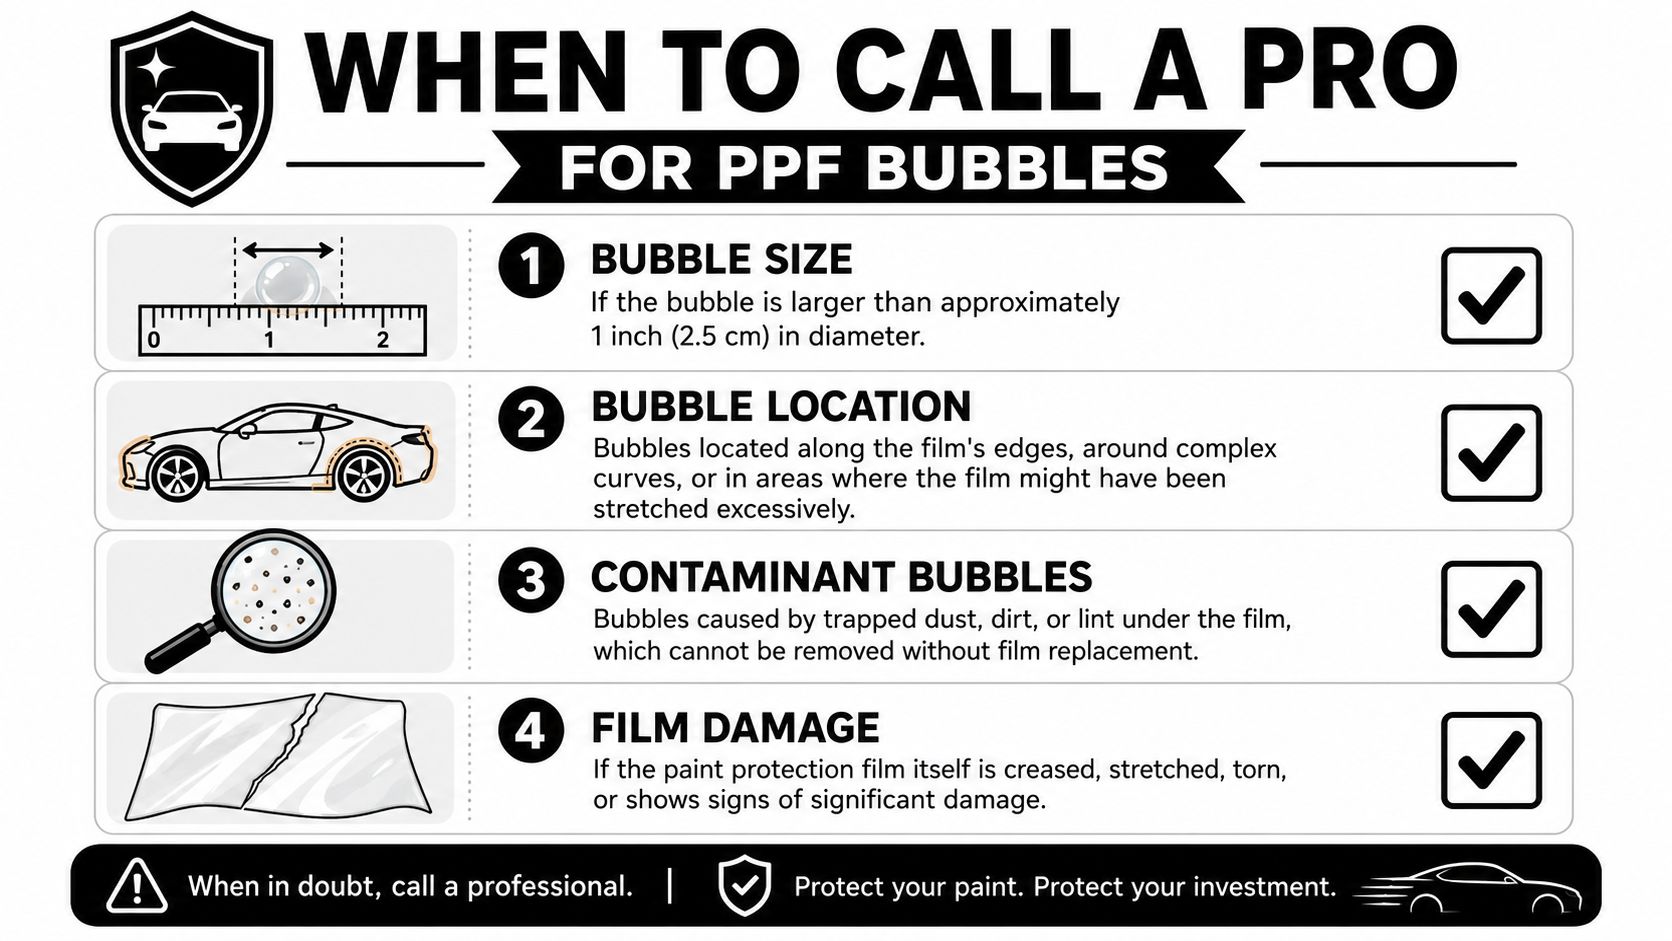
Clear signs the job needs a pro
Call a professional if any of these apply:
- The bubble is larger than a loonie: Bigger pockets usually mean more trapped air, more tension, or a deeper bonding problem.
- There's visible debris in the middle: That won't massage away.
- The bubble sits on an edge or compound curve: These areas are easy to damage and difficult to re-seat cleanly.
- The film shows creasing, stretch marks, or lift lines: At that point, the defect isn't just a bubble.
- The bubble appears well after installation: Late changes can signal adhesive problems, contamination at an edge, or film movement.
Why professionals use different methods
A trained technician isn't just using more heat. They're using the right amount of heat, in the right place, with the right pressure and tool choice. In some cases, a professional may lift and reset a section, or use a controlled fluid-assisted method to resolve a stubborn pocket without dry puncturing the film.
That matters because once film stretches too far, the distortion often stays. Once an edge is contaminated, it may never sit right again without rework.
A bubble can be minor. A failed DIY correction can turn it into a replacement.
If you're dealing with a questionable install or want another set of eyes on the panel, a specialist shop that works with film regularly is the safest next step. For local drivers, a dedicated PPF and tint shop in Whitby is the right kind of place to start.
Long-Term Care for a Bubble-Free Finish
Once the film has cured properly, maintenance becomes the next line of defence. Good aftercare won't fix poor installation, but it does help keep a well-installed film stable, clean, and looking sharp.
The biggest risk is aggressive washing too soon or too harshly.
Washing habits that protect the film
Use a gentle wash routine. A two-bucket wash method, a quality microfibre mitt, and a pH-neutral car shampoo reduce the chance of grinding dirt into the film surface.
Be careful with pressure washers. They're fine when used sensibly, but don't aim a hard stream directly at exposed film edges or hold the nozzle too close. That can encourage lifting over time.
Products and habits that help
A few practical habits go a long way:
- Dry with clean microfibre towels: Dirty towels can drag grit across the film.
- Remove bug splatter and bird droppings promptly: Letting contamination sit makes cleaning harder.
- Use protection made for PPF: A film-safe sealant or ceramic coating can make washing easier and keep the finish slick.
- Inspect edges during routine washes: Catching a lifting edge early is far better than waiting until dirt works underneath.
Treat PPF like a precision surface, not a licence to be rough with the car. The film is there to absorb abuse from the road, not abuse from poor maintenance.
If you're dealing with paint protection film bubbles and want a proper assessment before the issue gets worse, Carmedics Autowerks Inc can help. Their Whitby team handles PPF installation, film inspection, and corrective work with the care these finishes require, so you can protect your vehicle's appearance without gambling on a DIY fix that may cost more later.